Maintaining Your Surfboard’s Color: Tips to Prevent Fading
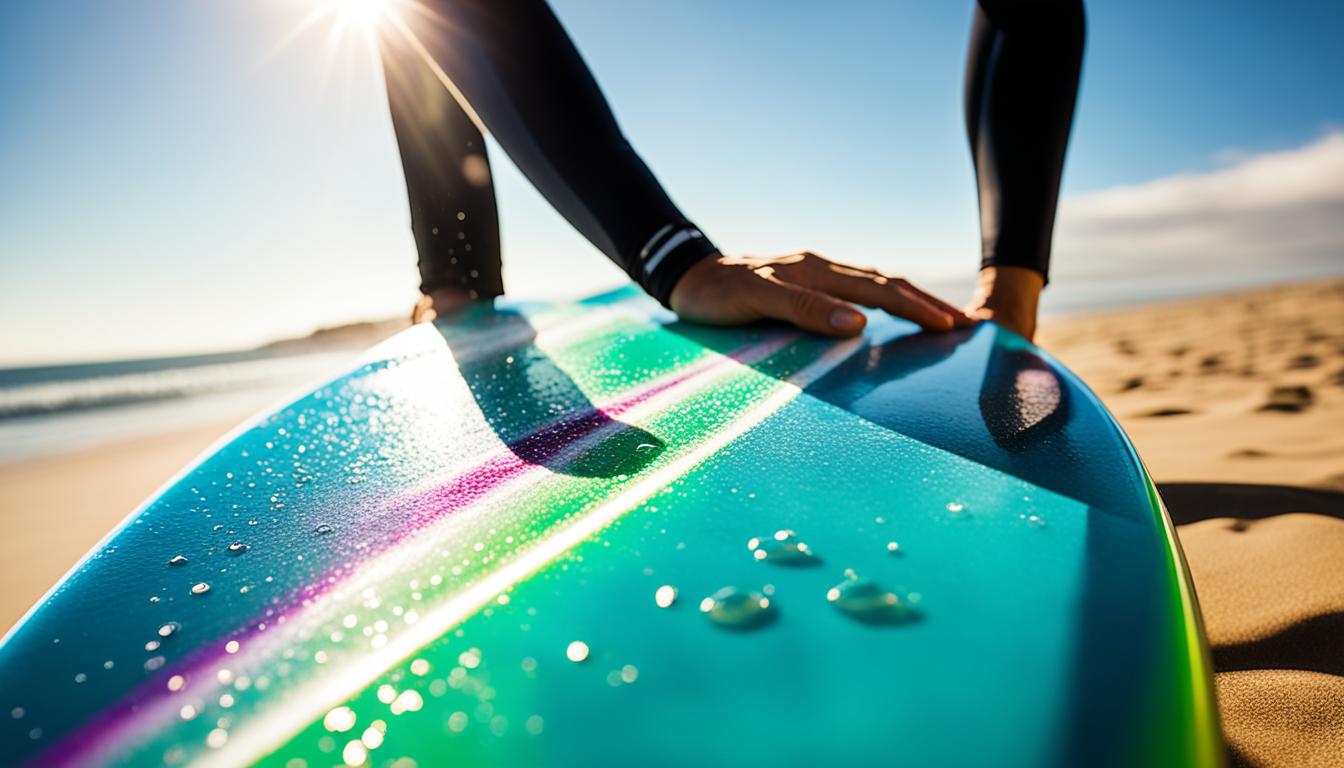
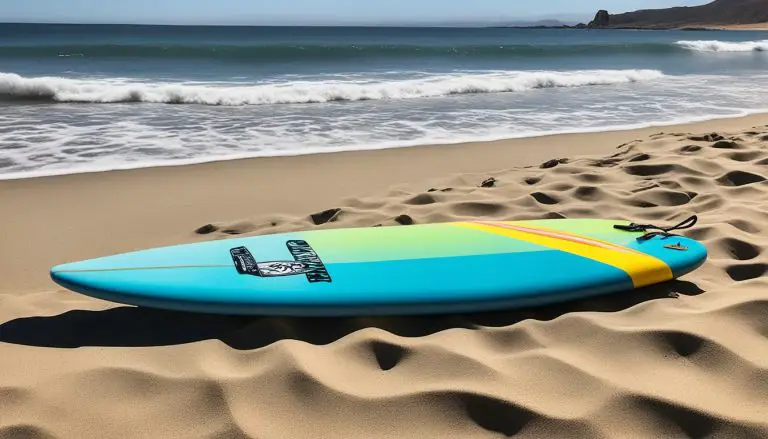
Surfing is not just a sport; it’s a lifestyle. And part of that lifestyle is taking care of your surfboard to ensure it stays in top shape. One aspect of surfboard maintenance that often gets overlooked is protecting its color from fading. In this article, we will provide you with valuable tips and tricks to help you maintain the vibrant color of your surfboard.
The sun and UV radiation can cause surfboards to lose their color over time. The foam and resin used in surfboard construction are particularly susceptible to yellowing and fading. However, with proper care, you can prevent this from happening and prolong the color vibrancy of your surfboard.
One of the most important steps in surfboard color protection is storing your board in a cool, shaded area when you’re not using it. Direct exposure to sunlight can accelerate fading. Additionally, consider using board bags or surf socks made of UV-protective materials during transport and storage to shield your board from both sunlight and heat.
Choosing a colored surfboard can also help mask or delay the appearance of yellowing. A darker surfboard color may be less prone to fading compared to a lighter one. Embracing the natural aging process of your surfboard, including the development of a patina over time, can add character and history to your board.
By following these surfboard color care tips and taking proactive measures, such as avoiding sun damage, storing your surfboard properly, and selecting the right color, you can prolong the vibrancy of your surfboard’s color and enjoy your surfing sessions to the fullest.
Stay tuned for the upcoming sections, where we will delve deeper into the causes of surfboard yellowing, its effects on performance, prevention techniques, and more.
Why Do Surfboards Yellow?
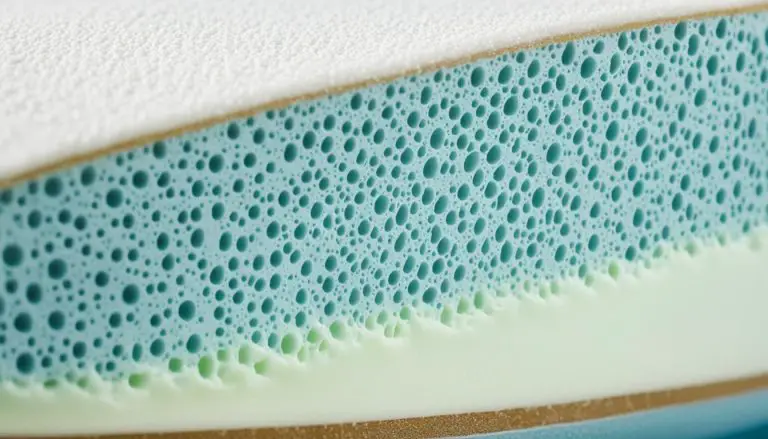
Surfboards yellow when exposed to sunlight and UV radiation. The foam and resin used in surfboard construction, particularly epoxy and polyester resins, contain molecules called chromophores that break down when exposed to UV radiation. This degradation causes the resin to turn yellow or develop a yellowish tint. Manufacturers often add UV filter additives to slow down this process, but some degree of yellowing is inevitable.
UV radiation is the primary cause of surfboard yellowing. When surfboards are left in the sun or exposed to extended periods of intense sunlight, the UV rays penetrate the resin, leading to a breakdown of the chromophores. These chromophores are responsible for the resin’s color stability, and their degradation results in the yellowing phenomenon.
The impact of UV radiation on surfboard resin is significant. It alters the chemical structure of the resin, leading to discoloration and loss of clarity. UV radiation is most intense between 10 am and 4 pm, so surfboards are particularly vulnerable during these hours. Moreover, prolonged exposure to UV radiation can also weaken the resin, compromising the surfboard’s overall durability.
Surfboard manufacturers have tried to counteract the yellowing process by incorporating UV filter additives in the resin. These additives help minimize the effects of UV radiation, extending the lifespan of a surfboard’s original coloration. However, even with these additives, over time, the chromophores will still break down, resulting in some degree of yellowing.
Understanding why surfboards yellow is essential for surfers to care for their boards properly. By knowing the causes and impact of yellowing, surfers can take steps to protect their boards from excessive UV exposure and prolong the color vibrancy of their surfboards.
The Effects of Yellowing
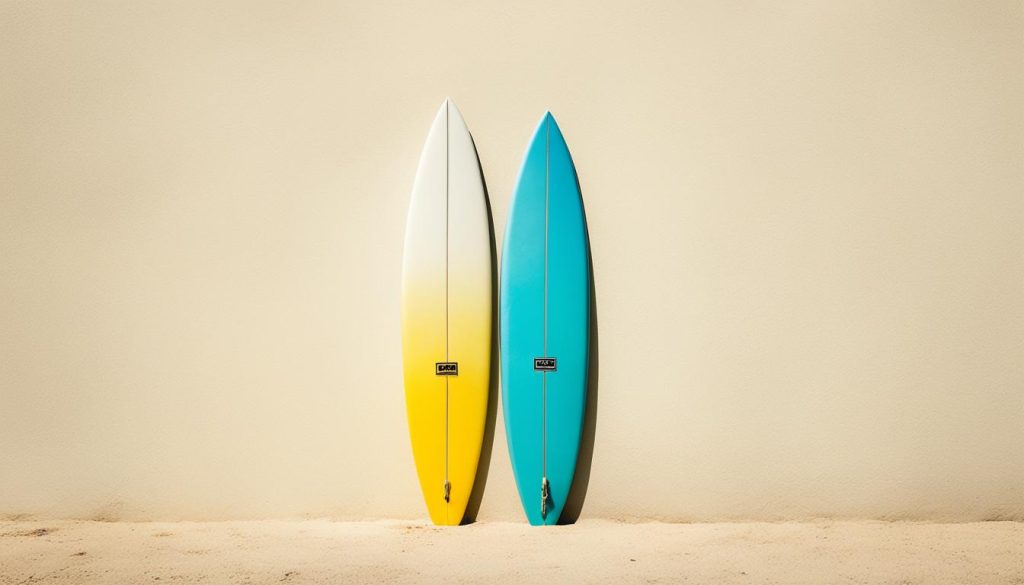
Surfboard yellowing is primarily a cosmetic issue and does not typically affect the performance or structural integrity of the board. However, if left untreated for an extended period of time, the glass layer in yellowed surfboards may become brittle and more susceptible to damage. It is important to note that extensive yellowing usually occurs after years of neglect or heavy use.
Impact on Surfboard Performance
The impact of yellowing on surfboard performance is minimal. The yellow discoloration does not alter the board’s overall functionality or its ability to ride waves. Surfers can still enjoy the same level of performance and maneuverability on a yellowed surfboard as they would on a pristine one.
Structural Integrity of Yellowed Surfboards
Yellowing does not compromise the structural integrity of surfboards. The foam core and resin used in their construction are not affected by the color change. As long as the board has been properly cared for and not subjected to excessive damage or wear, it will maintain its strength and durability despite the yellowed appearance.
However, it is worth mentioning that if the yellowed surfboard has developed significant damage or has been exposed to prolonged sunlight, the glass layer may become brittle over time. This can lead to an increased risk of cracks or delamination. Therefore, it is crucial to regularly inspect and maintain yellowed surfboards to ensure their long-term usability and safety.
To summarize, while surfboard yellowing may be noticeable, it has minimal impact on performance and structural integrity. Proper maintenance and care will help extend the lifespan of a yellowed surfboard and ensure its continued use in the water.
Prevention and Solutions
To prevent surfboard yellowing and maintain its vibrant color, there are several tips and solutions you can implement:
1. Minimize Sun Exposure
When your surfboard is not in use, store it in a cool, shaded area to minimize its exposure to sunlight and UV radiation. This will help prevent the yellowing process and preserve the board’s color for longer periods.
2. Use UV-Protective Storage
Consider using board bags or surf socks made of UV-protective materials during transport and storage. These specialized accessories provide an additional layer of protection against harmful sunlight and heat, significantly reducing the chances of surfboard fading and yellowing.
3. Opt for Colored Surfboards
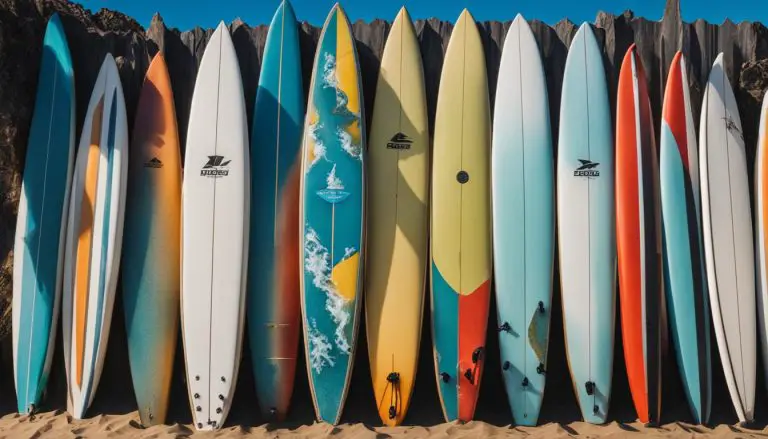
If you’re concerned about the appearance of yellowing, consider choosing a colored surfboard. Colored surfboards can effectively mask or delay the visible effects of yellowing, allowing you to enjoy a vibrant board for an extended period.
4. Embrace Surfboard Patina
Instead of fighting against the natural aging process, embrace and appreciate the patina and character that come with a well-used surfboard. Just like surfers develop their style and stories, surfboards develop their own unique appearance over time. Embracing this natural process can add charm and authenticity to your board.
5. Light Sanding for Yellowed Surfboards
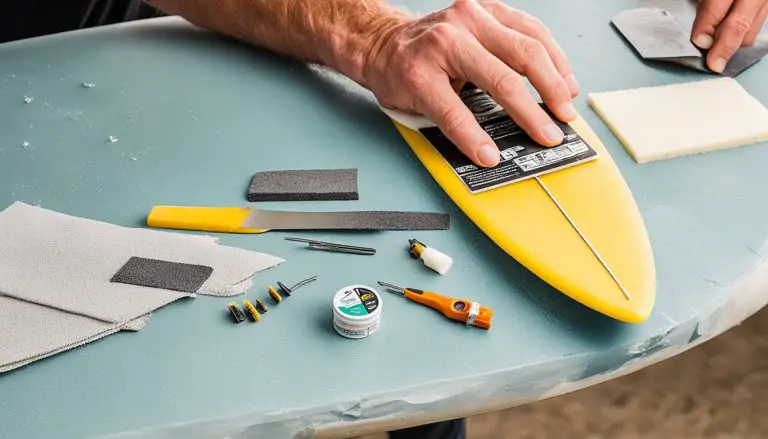
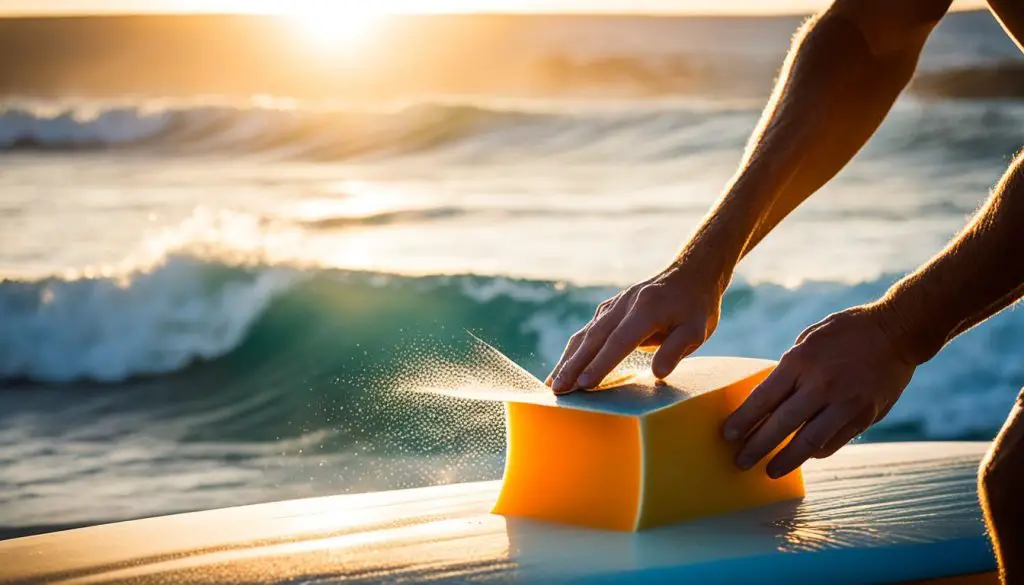
If your surfboard has already started to yellow, you can try light sanding with fine-grit sandpaper. This can help to remove the surface layer of yellowed resin, bringing back some of the original color. However, be cautious not to sand too aggressively, as it may damage the board’s structure.
6. Automotive Polish for Yellowed Surfboards
Another option to reduce the appearance of yellowing is to apply automotive polish specifically designed for fiberglass surfaces. This polish can help restore some of the board’s original shine and color, diminishing the visibility of yellowed areas.
7. Repainting Surfboards
If the yellowing is extensive or none of the above solutions provide satisfactory results, you might consider repainting your surfboard. Consult with a professional or do thorough research to ensure you select suitable paint or pigment specifically designed for surfboards. Proper preparation and application techniques are crucial when repainting a surfboard to ensure optimal results.
By following these prevention tips and exploring the available solutions, you can effectively protect your surfboard from yellowing and maintain its color vibrancy for many enjoyable surf sessions.
What is Surfboard Wax?
Surfboard wax is an essential tool for surfers, providing crucial grip and traction on the board’s surface. It helps surfers keep their feet firmly planted, enhancing their control and stability while riding the waves. Apart from its traction benefits, surfboard wax also serves as a protective coating, safeguarding the board from the elements it encounters in the water.
When it comes to surfboard wax, there are different types available to cater to various surfing needs and conditions. Let’s explore some of the common types:
- Basecoat Surf Wax: Basecoat wax is typically used as an undercoat or preparation material before applying the regular surfboard wax. It helps create a suitable surface for the topcoat wax to adhere to, enhancing its effectiveness.
- Topcoat Surf Wax: Topcoat wax is the primary wax used on the surface of the surfboard. It provides the necessary grip and traction for surfers to maintain their footing. The layer of topcoat wax is often customized by surfers to suit their preferences and the specific conditions they will be surfing in.
- Traditional Surfboard Wax: Traditional surfboard wax combines the functions of both the basecoat and topcoat waxes. It simplifies the waxing process by offering a single application that enhances grip and traction on the entire surface of the board.
- Sticky Surfboard Wax: Sticky wax is a specialized type of surfboard wax that is primarily used in specific areas where surfers plant their feet. It enhances grip in these critical zones, allowing surfers to maintain their balance and perform maneuvers with confidence.
- Temperature-Specific Surfboard Waxes: Surfboard waxes can also be designed for specific water temperatures. Different waxes are available for cold, cool, warm, and tropical water conditions, ensuring optimal performance and grip according to the prevailing environment.
Surfboard wax is an indispensable part of a surfer’s arsenal, offering vital grip, traction, and protection for their beloved boards.
How to Wax a Surfboard
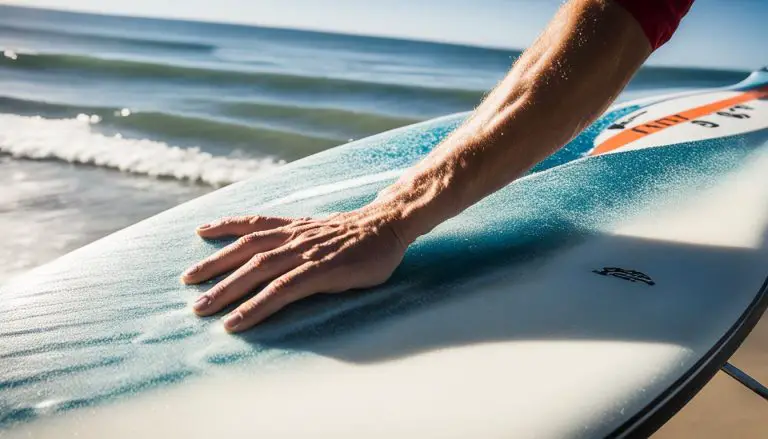
Waxing a surfboard is an essential skill for surfers. The process involves applying wax to the board’s deck to provide grip and traction. Follow these steps to wax a surfboard and ensure optimal performance while riding the waves.
- Gather the necessary materials: Before you begin, make sure you have the following items:
- – Surfboard wax
- – Wax comb
- – Clean cloth
- Clean the board: Start by removing any old wax residue using a wax comb. This will create a clean surface for the new wax to adhere to.
- Apply the basecoat wax: Take the surfboard wax and rub it firmly onto the deck of the board using circular motions. Make sure to cover the entire area where your feet will be positioned. This basecoat wax provides a foundation for the topcoat wax and enhances the board’s grip.
- Apply the topcoat wax: After the basecoat wax has been applied, it’s time to add the topcoat wax. Use long, straight strokes to apply the wax in a pattern that suits your riding style. There are different waxing techniques you can try:
- – Circle pattern waxing: Apply the wax in small circular motions, overlapping each circle slightly.
- – Straight line pattern waxing: Apply the wax in long, parallel lines across the surface of the board.
- – Crosshatch pattern waxing: Apply the wax in diagonal lines that intersect to form a crisscross pattern.
- – Freestyle pattern waxing: Apply the wax in any pattern or design that you prefer.
- Removing old wax: Over time, the wax on your surfboard will build up and become less effective. To remove old wax, use a wax comb to scrape it off. Start at one edge of the board and work your way across, applying firm pressure to remove all traces of wax.
- Finishing touches: Once you’ve applied the wax and removed any old residue, use a clean cloth to wipe away any excess wax and give your board a final shine.
Remember to always keep your wax comb handy for quick touch-ups and maintenance between surf sessions. With regular waxing and proper care, your surfboard will provide optimal grip and traction, allowing you to ride the waves with confidence.
| Waxing Technique | Description |
|---|---|
| Circle Pattern Waxing | Apply the wax in small circular motions, overlapping each circle slightly. |
| Straight Line Pattern Waxing | Apply the wax in long, parallel lines across the surface of the board. |
| Crosshatch Pattern Waxing | Apply the wax in diagonal lines that intersect to form a crisscross pattern. |
| Freestyle Pattern Waxing | Apply the wax in any pattern or design that you prefer. |
Greenlight Surfboard Building Guide – How to Shape a Surfboard
Building a surfboard involves shaping the board to the desired outline. There are different methods of making a surfboard template, including using Greenlight Templates, tracing an existing board, AKUShaper templates, and batten templates.
Greenlight Templates offer pre-designed shapes that can be printed and traced on Masonite or hard plastic wall covering. This method provides surfboard builders with a convenient and accurate template to follow.
Tracing an existing board is another popular technique. It involves clamping a Masonite template board directly to the bottom of the board you want to copy. By carefully tracing the outline onto the template board, you can create a customized shape that matches your existing board’s design.
AKUShaper templates are created using CAD software and can be printed and traced on Masonite. This technique allows for precise and consistent shaping, ensuring that every surfboard built using this method adheres to the original design.
Batten templates utilize a long, flexible batten to define the curve of the template. By carefully positioning and manipulating the batten, surfboard builders can create smooth and accurate outlines for their boards.
Each method of making a surfboard template has its own advantages and considerations. It’s important to choose the method that aligns with your skill level, resources, and desired outcome.
Greenlight Surfboard Templates
Greenlight Templates offer a wide range of surfboard outline templates for both traditional and alternative shapes. These templates are designed by experienced surfboard shapers and can be a valuable resource for surfboard builders looking to create their desired board shape.
| Template Type | Features |
|---|---|
| Traditional Shortboard Template | Classic shortboard shape with a moderate rocker and balanced outline for all-around performance. |
| Fish Template | Wide and stubby shape with a fish-like outline, ideal for generating speed and maneuverability in small to medium waves. |
| Longboard Template | Classic longboard shape with a rounded nose, gentle rocker, and a wide tail for stability and noseriding. |
| Alternative Template | Unconventional shapes like asymmetrical, twin fin, or step-up boards that offer unique performance characteristics. |
Using a Greenlight Template can save time and effort in the surfboard shaping process, ensuring that the outline of your board matches your desired design.
“Greenlight Templates provide surfboard builders with a valuable resource for creating accurate and consistent board shapes. Whether you’re a beginner or an experienced shaper, these templates can streamline the process and help you achieve your desired surfboard outline.”
Affordable and Accessible Templates
Tracing an existing board can be a cost-effective method for creating a surfboard template. By using a Masonite board and clamping it directly to the bottom of your desired board, you can accurately transfer the outline without the need for specialized tools or materials.
For those with access to CAD software and a printer, AKUShaper templates offer a high level of precision and control. By digitally designing the surfboard outline and printing it onto Masonite, you can ensure consistency and accuracy in your shaping process.
Batten templates provide another accessible option for surfboard builders. Using a long, flexible batten, you can shape the outline of your board by following the curvature of the template. This method doesn’t require expensive tools or equipment, making it suitable for DIY enthusiasts and beginners.
Whether you choose Greenlight Templates, existing board tracing, AKUShaper templates, or batten templates, the key is to find a method that aligns with your skill level, available resources, and desired outcome.
Conclusion
Ensuring the long-lasting color and vibrancy of your surfboard is essential for maintaining its appearance. By implementing proper surfboard color maintenance techniques and preventing fading, you can extend the lifespan of your board’s visual appeal. Storing your surfboard in a cool, shaded area and using UV-protective materials such as board bags or surf socks during transport and storage will help shield it from the damaging effects of sunlight and heat. Embracing the natural aging process, including yellowing, can add character and history to your surfboard.
Another crucial aspect of surfboard maintenance is waxing. Applying surfboard wax not only enhances grip and traction but also forms a protective layer on the board’s surface. With various waxing techniques available, such as circle pattern, straight-line pattern, crosshatch pattern, or freestyle pattern, you can personalize the application based on your preferences and surfing style.
When it comes to surfboard building, creating a surfboard template is a fundamental step. Whether you choose Greenlight Templates, tracing an existing board, AKUShaper templates, or batten templates, having a well-defined outline is essential for shaping your surfboard. Selecting the right method that suits your requirements and skill level is crucial for achieving the desired design.
By following these tips and techniques for surfboard color maintenance, preventing fading, surfboard wax application, and surfboard template making, you can ensure that your beloved surfboard remains vibrant, provides optimal performance, and enhances your surfing experience for years to come.

